Docs on managing the setting of LMS system
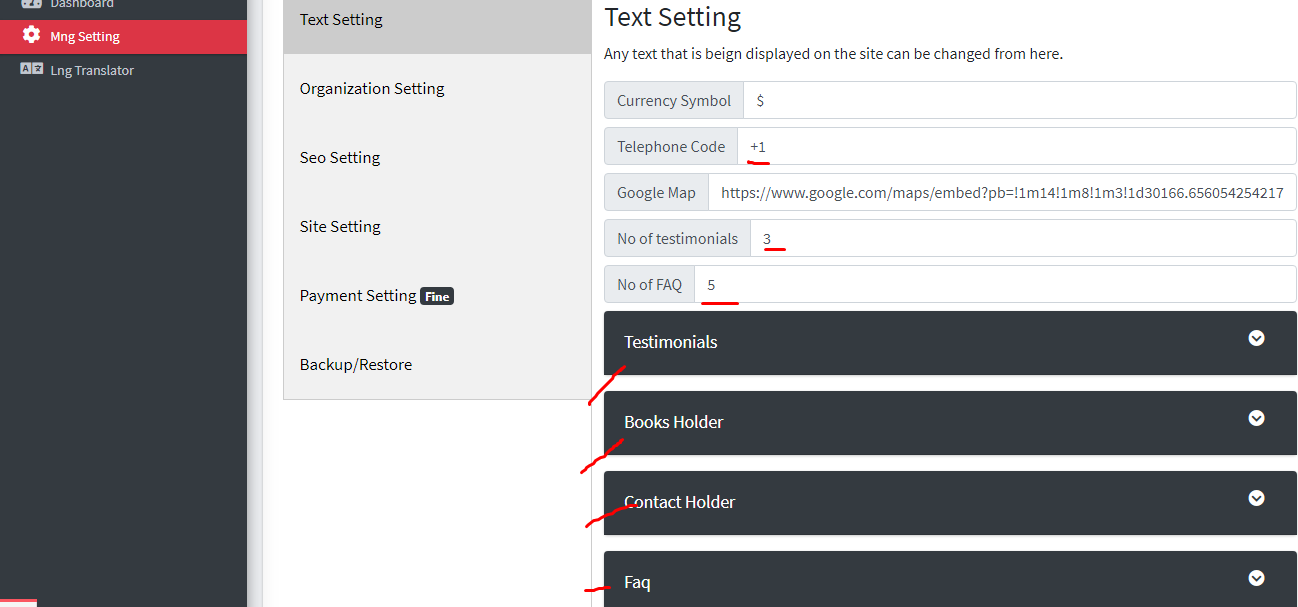
Every field show in the below image are self explanatory. These text setting is from where everything that you see on your website can be configure from.
Say if you don\'t require the testimonial section in the front end you can turn it off by setting the No of testimonial field to 0 , similarly Faq section, While Book Portfolio and Contact us are fixed one.
For getting the google map embedded link : You can learn about it here : https://www.businessinsider.com/how-to-embed-google-map?IR=T
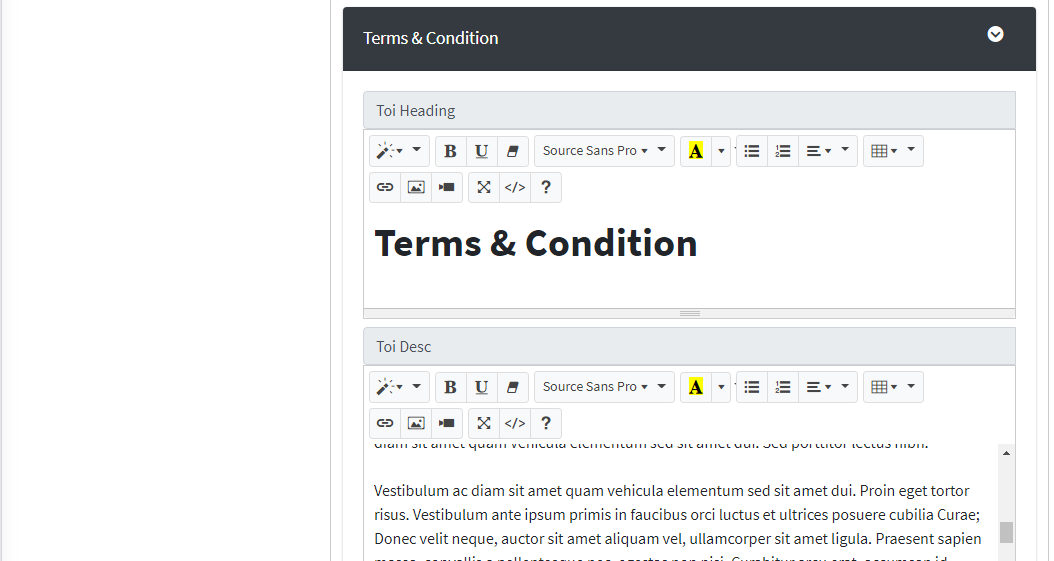
Say if you don\'t want any pages like Terms & Condition you can remove the heading i.e Clear the Toi Heading in this below case and the TOI link will not be show in the front end, similarly for privacy policy.
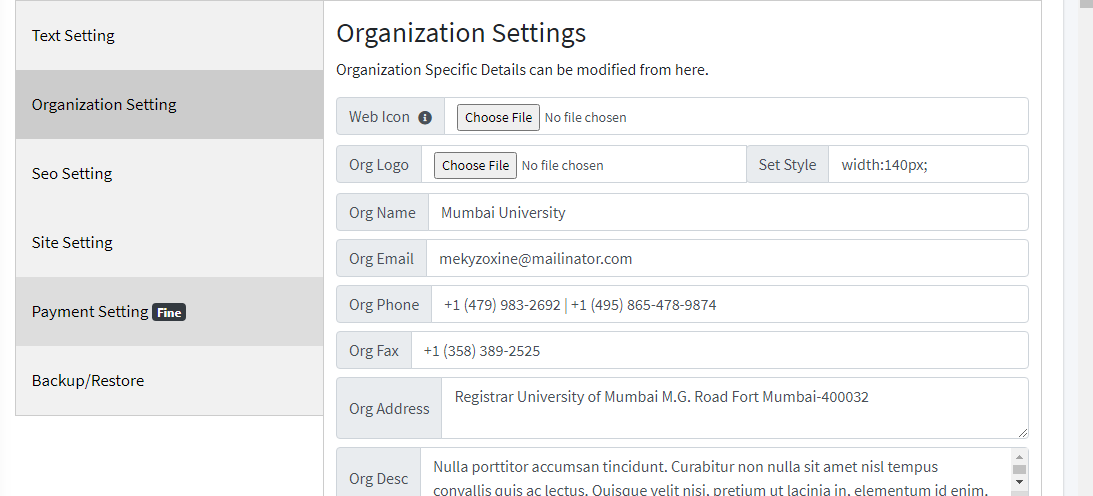
Organisation Setting is also self explanatory.
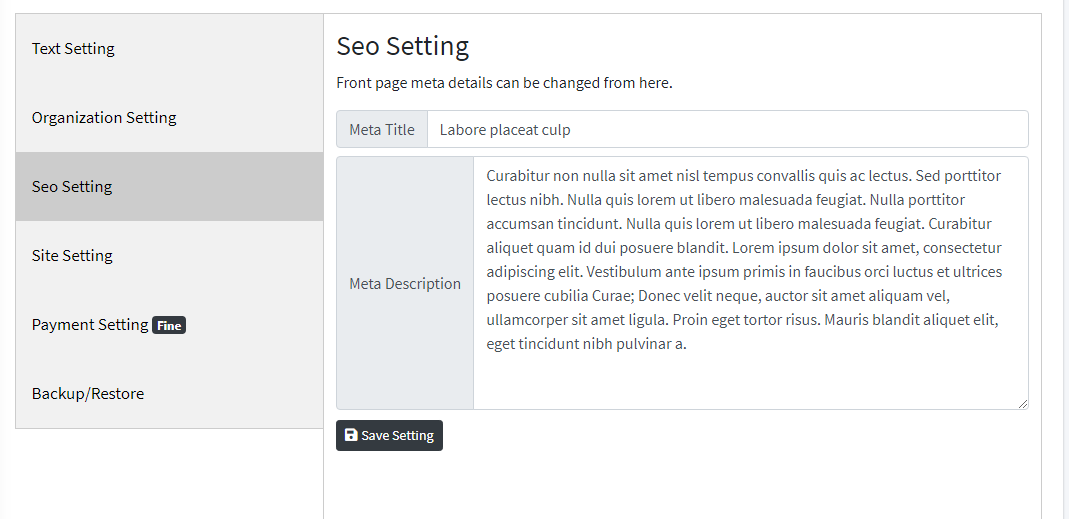
Seo setting is an important one. You can change how your website looks like in the google by changing the data below.

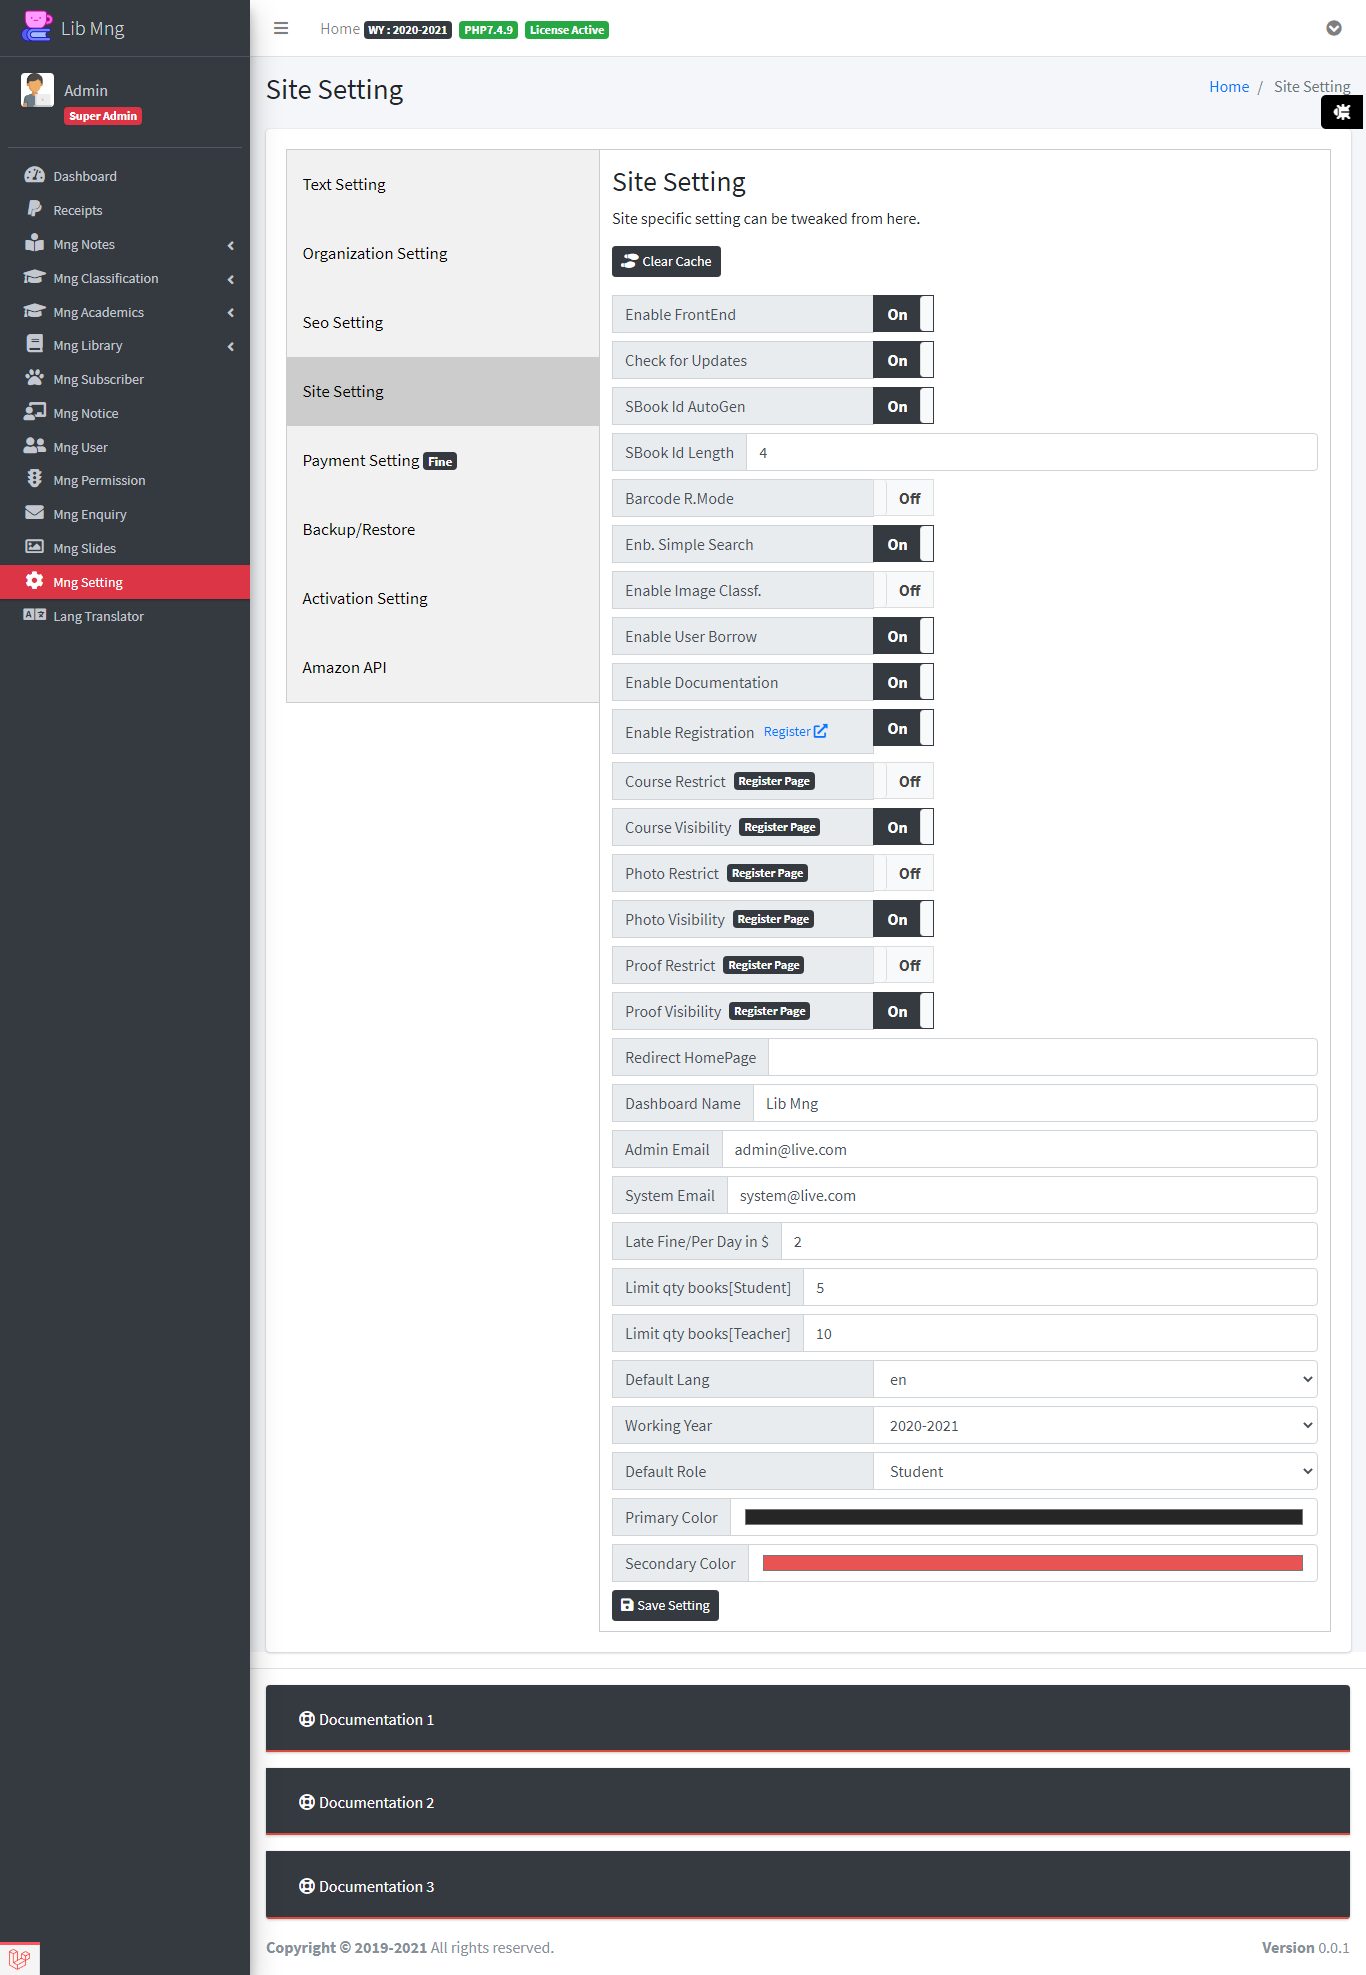
Now lets look at the site setting section.
- Enable Front End : By turning it off you can restrict the user . if you have some other page where you like the user to go when they type in your homepage then you can fill in the RedirectHome Page field.
- Check for Updates : This will check any updates are avaialable from our server and notify you in your dashboard.
- Enable Error Reporting : A bug icon is shown on every page only to the admin. This is basically done so when you receive any error or something is not working as expected then you send us a message of what is not working or what action gave you that error , immediately and we will go through it and fix it in next release .
- SBook Id AutoGen : If this featuer is turned on the SBID will be autogerated depending up on the length specified below.
- SBook Id Length : The lenght of the new id that needs to be generated by the system. This is random numbers.
-
Barcode R.Mode :
If this feature is turned on the issue book page enter into barcode mode. Like show below

How to use barcode mode and all are given in the issue book book page docs.
-
Enb. Simple Search :
This mode is basically used to turn on/off the simple search mode. If you have many books say 800+ then you should think of turning off simple search as that will take too much time to load. You can try this mode, if you think you page is taking time to load you can turn off this simple search which basically get switched to advanced mode of the search.
Below show is the image of what i am talking about.
This is the advance searching mode.

This is the default simple searching mode.

Both allows you to filter books easily.
-
Enable Image Classf. :
This feature is for when you are on advanced search mode . This bascilly will show images in category like below instead of the black and white box like shown above. If you want to change the default image you can replace the default_category.png image from the public/uploads/ folder

-
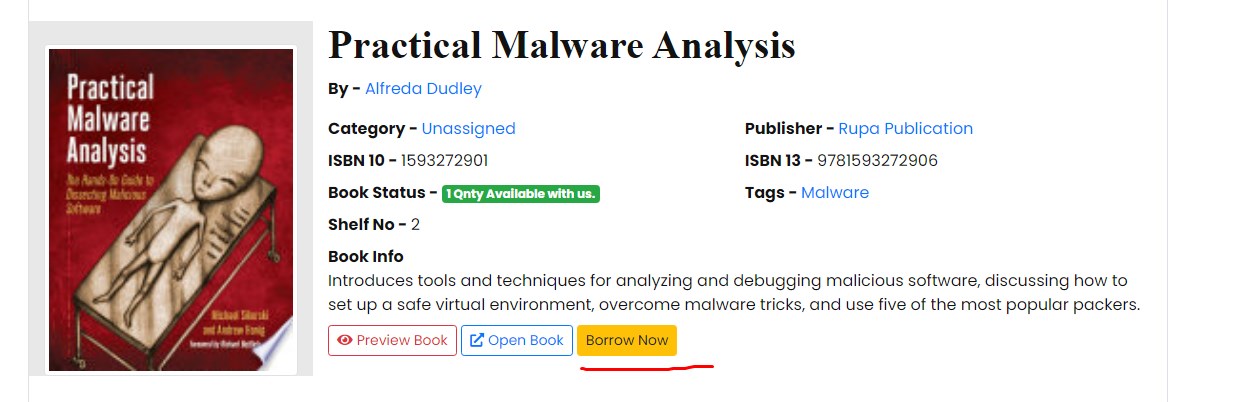
Enable User Borrow :
This feature allows users to borrow books themself. Like show below by presenting them a borrow button. More details can be found in issue books docs.
- Enable Documentation : The documentation that you are reading will be hidden under every page.You can any day turn it on to learn or understand any working of the form/feature. And by the way this is only show to the admin.we keep on updating on regular basis any latest feature that is availble.
- Enable Registration:You can turn on and off the user registration into the system from here. And the user signed up will all be inactive. Admin has to activate him before he/she can be issued any books or basically do any function.
- Course Restrict : This function basically is applied to the register form where the user will be forced to fill in the course details in which he/she is in. In short If this feature is turned on he/she can't proceed until they fill in the details Similar is the case of Photo Restrict and Proof Restrict.
- Course Visibility :This function basically removes the field from the register page. Similarly is the case of Photo Visibility and Proof Visibility
- System Email : You can create a email address in you cpanel account and give it here. Eg: say you have a domain of lms.com so you can create a [email protected] and put that email here.
- Default Role: The user who register on your site will by default get this role set.
- Working Year: whenever a new working year begin you can change the setting here this way all the entries that will be made from here on will be assigned to that working year. Make sure your return all the books into the system when changing to new year cause the previous years borrowed details will all be achieved.
- Default Lang : You can change the language of the entire site from here. English [en] is the default language.More details of how you can create and translate the website can be found under Lng Translator Section
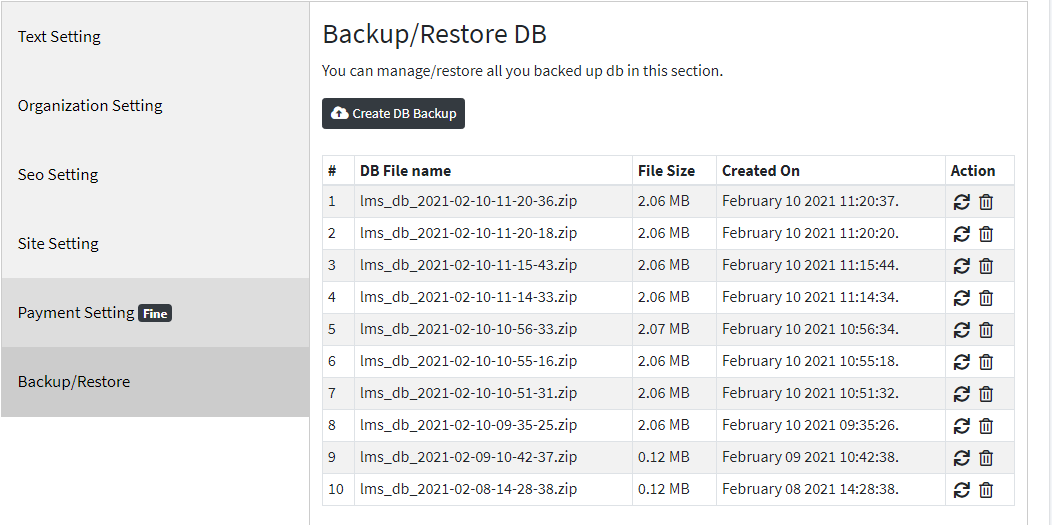
You can create DB backups from here , if you wish to migrate [The db file is stored inside folder called "storage/.."] You can also restore backup by clicking on the restore button bellow.
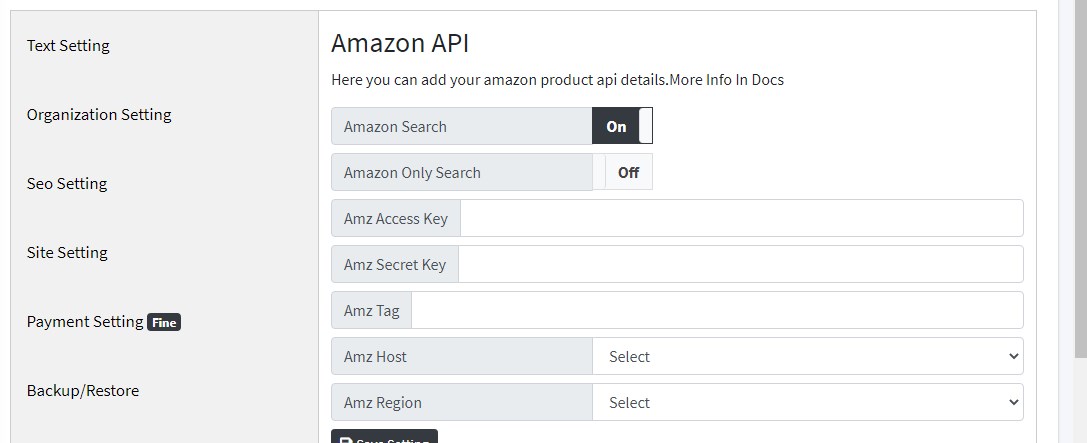
AMAZON API
Now lets look at each details carefully.
Amazon Search Button - If you don't have the api turn it off. And no need to read below details. You will have to create a amazon affliate first.
Amazon Only Search - This setting if is on will make the system to only search the amazon website. This way you get details of all the product on the amazon.
Rest of the setting are preety much explanationary all the access key,private key and tag you can find in you amazon aff account.
Visit this link for getting the api details for https://webservices.amazon.com/paapi5/documentation/register-for-pa-api.html
For amazon host -> visit this link to find you regions host :-> https://webservices.amazon.com/paapi5/documentation/common-request-parameters.html#host-and-region.